
Building RideNote: Choosing the Tech Stack
January 17, 2026 • 6 min read
After defining the MVP scope, the next decision was choosing what to build with. This isn’t just about picking a framework. It’s about setting up a workflow that lets you move fast without breaking things.
Working solo means every tool choice matters. You don’t have a team to split responsibilities. You need a stack that works together and a workflow that doesn’t create friction.
The Core Stack
I settled on React Native with Expo, TypeScript, and SQLite for local storage. Development would happen in Cursor, with Expo handling builds and deployment.
These weren’t arbitrary choices. Each decision came down to a specific constraint.
React Native + Expo: I needed cross-platform capability eventually, but more importantly, I needed something Cursor could work with effectively. Expo removes the native build complexity. You don’t touch Xcode. You don’t configure native modules. You just build.
TypeScript: Strict mode, explicit types, no shortcuts. This adds upfront friction but catches errors before they become runtime bugs. When you’re working solo, you don’t have code review. TypeScript is your second pair of eyes.
SQLite (local-only): No backend, no authentication, no cloud sync. Everything stays on the device. This was deliberate. A backend adds complexity, maintenance, and cost. For MVP validation, I didn’t need any of that. I needed to prove the concept worked before worrying about infrastructure.
The trade-off is obvious: users can’t sync across devices or back up their data. But that’s a Phase 2 problem. Ship first, add complexity later.
Why Cursor
I’d been building web apps throughout the year using various AI tools. Cursor became my primary development environment because it works like having a developer on your team.
The workflow is conversational. When I’m unsure about something, I use the chat to discuss it. When I know what I want, I use Composer mode to generate or modify code. For specific errors or small changes, I’ll manually edit to save tokens.
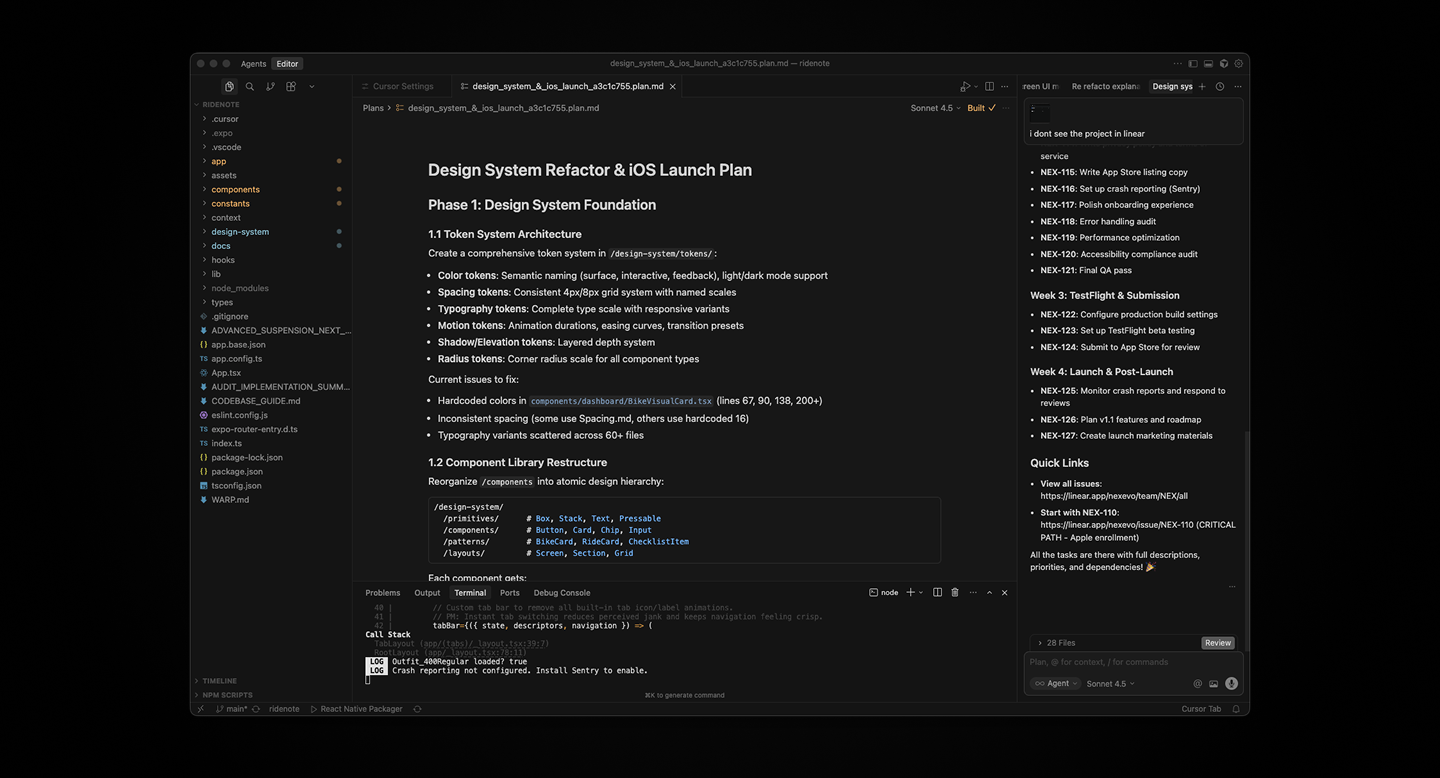
But the real value is how Cursor handles context. I set up .cursorrules at the start of the project with standing instructions: no emojis in code, specific file structure patterns, TypeScript strict mode, React Native best practices. These rules persist across every interaction.
Cursor doesn’t just generate code. It explains trade-offs, flags scope decisions, and teaches as it builds. This matters when you’re learning while shipping.
The Design Workflow
Here’s where my process diverged from traditional app development: I skipped Figma entirely for screen design.
Normally, you’d design every screen in Figma, create a prototype, get feedback, then hand it off to development. That’s sequential and slow. It also assumes design and development are separate phases.
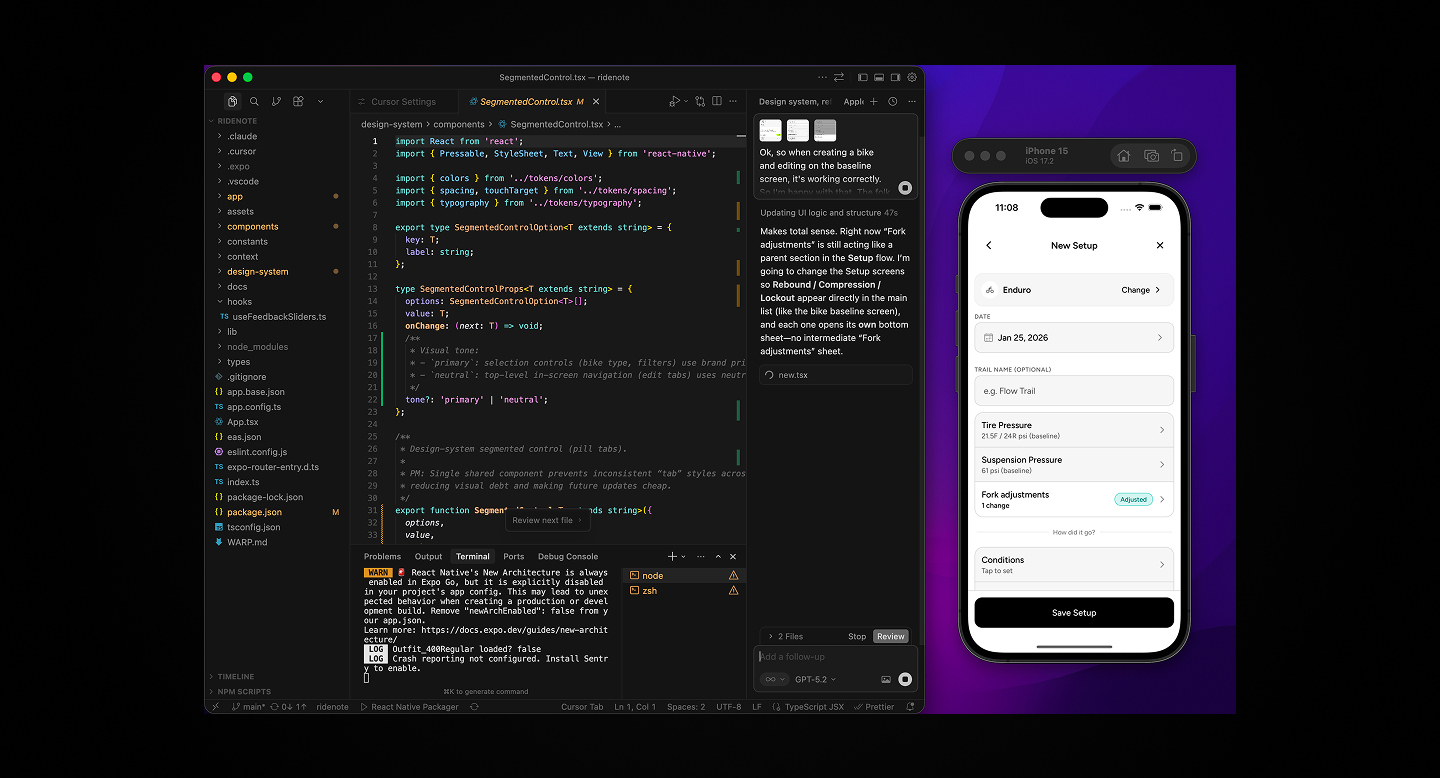
With AI-assisted development, they’re not. I designed directly in Cursor.
I’d describe what I wanted, Cursor would generate the component, I’d test it in the iOS Simulator, iterate if needed, then move on. The feedback loop was tight. Build, test, refine, repeat.
For branding and assets, I used Affinity Designer and Photo. The logo, any static design work, visual identity, all handled there. Figma was only used for specific iOS assets like App Store screenshots and the app icon export.
Image assets came from Unsplash and personal photos. Icons came from a React icon set, though I’ll design custom icons for the next version.
The Testing Loop
My typical workflow: make a change in Cursor, check it in the iOS Simulator first because it’s faster, then test the actual experience on my phone when I needed to feel the interaction.
Early on, I discovered something important: instead of running a development server, I’d create production builds using the iOS Simulator. This surfaced dependency issues that wouldn’t show up in development.
For example, I ran into problems with a slider component. It worked fine in dev, but when I exported an Expo build for TestFlight, there were React Native version conflicts. The slider library was either too new or too old for the Expo SDK version. I had to downgrade it every time I created a build.
Catching that early saved me from discovering it during App Store submission.

Version Control and Chat Management
The project lives on GitHub. I use Git for version control, committing regularly rather than just at milestones. When you’re iterating fast with AI-generated code, version control becomes your safety net.
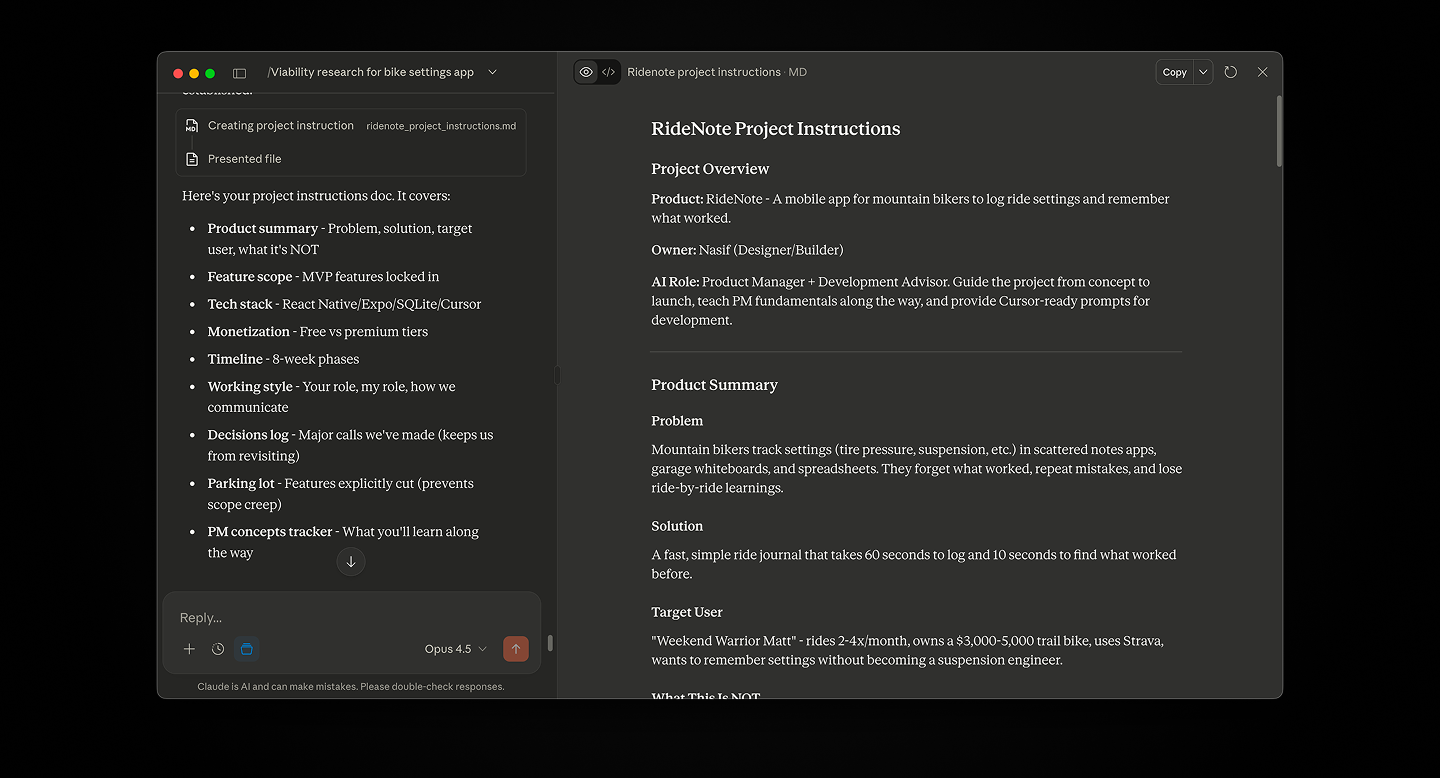
I also organized my AI workflow across multiple Claude chats:
- One for UX writing and content
- One for iOS-specific documentation and guidelines
- One for general product strategy and planning
This separation kept context clean. When I needed to work on copy, I’d use the UX chat. When I needed technical guidance, I’d use the iOS chat. No mixing concerns, no polluted context.
For implementing documentation, I used Claude’s browser control feature to actually create and update files directly.
Operations Setup
Expo EAS handled builds. I’m on the free tier, which was sufficient for MVP development. Apple Developer account for App Store Connect. No Xcode at all, everything through Expo’s cloud build system.
For UI reference and inspiration, I used Mobbin, a library of mobile app designs. When I needed to see how other apps handled specific interactions or patterns, I’d search there rather than guessing.
What I Learned About Stack Decisions
The traditional advice is to choose boring technology. Proven tools, stable frameworks, well-documented libraries. That’s good advice for teams building long-term products.
For solo AI-assisted development, the advice is different: choose tools that AI can work with effectively.
Cursor is excellent with React Native and Expo because there’s extensive training data and clear patterns. If I’d chosen native Swift, Cursor would struggle more. The ecosystem matters for AI tools just like it matters for human developers.
The local-first architecture was the right call. No backend means no DevOps, no server costs, no authentication headaches. Every feature I didn’t build is time saved and complexity avoided.
The downside is constraints. Users can’t sync across devices. They can’t back up their data to the cloud. They can’t share setups with friends. But none of those are MVP features. They’re nice-to-haves that can wait until the core value is validated.
The 70/30 Rule in Practice
Remember the 70/30 rule from user flows? It applies to tech stack too.
You define 70% upfront: the frameworks, the database, the deployment pipeline, the file structure. The remaining 30%, the implementation details, gets figured out during development.
Cursor handles edge cases. It suggests libraries when needed. It catches patterns you missed. But only because the foundation is solid.
If you try to let AI make all the decisions, you end up with inconsistent code and technical debt. If you over-specify everything, you lose the speed advantage.
The balance is: strong opinions on architecture, flexibility on implementation.
What’s Next
With the stack decided and workflow established, the next phase was actually building and designing the app. These happened in parallel rather than sequentially.
That’s what I’ll cover in the next post: how I used Cursor to build features while simultaneously designing the interface, and why working this way is faster than the traditional design-then-develop approach.
Related posts


Get occasional product + AI notes
1–2 emails/month. Practical ideas on building, shipping, and using AI well.